I've bought the above kit to keep me busy during these dark dank winter months. Originally I had planned to build a 880mm (34.6") Bluebird of Chelsea plank on frame kit. It is a famous pleasure craft built for Sir Malcolm Campbell and took part in rescuing soldiers from the beaches of Dunkirk under 'Operation Dynamo' in 1940. Unfortunately much to my bitter disappointment only the larger 52" version now is available which is too big for myself.
I'm hoping some kit builder will make a kit of this craft at about 36" so in the meantime here goes with LISA M
The kit has an ABS hull (a bonus for my hands these days!) and laser cut plywood parts. The kit also comes with an electric motor so all you need is a servo and speed control plus the usual R/C gear and battery.
A set of English instructions were also provided which are a reasonable translation with the odd error here and there! I feel they could be a bit more specific in places so study the photos.
The ABS hull comes with about 1 1/4" (about 300mm) extra height above the deck level which needs cutting down to be about 2mm above the temporary fitted deck level. This wasn't that easy but in the end I used a pair of tin snips to cut it which proved to be better than using a Stanley Knife. I have drilled and filed the holes in the ABS hull for the prop shaft tube and rudder tube. I've now assembled the deck coaming, motor mount, battery box and supports for the rudder tube. Next job is to waterproof the deck on both sides, and all the other assembled plywood parts. Having seen another blog, I've decided to strengthen the wood around the rudder tube by using an offcut from the wood provided for the boat stand. I will smooth the edges when the glue has set!
[{"id":"176890946363","name":"176890946363","caption":"","url":"https:\/\/beta.model-boats.com\/media\/176890946363\/l","thumbUrl":"https:\/\/beta.model-boats.com\/media\/176890946363\/s","isImage":false,"ext":"file"},{"id":"176890948016","name":"176890948016","caption":"","url":"https:\/\/beta.model-boats.com\/media\/176890948016\/l","thumbUrl":"https:\/\/beta.model-boats.com\/media\/176890948016\/s","isImage":false,"ext":"file"},{"id":"176890949236","name":"176890949236","caption":"","url":"https:\/\/beta.model-boats.com\/media\/176890949236\/l","thumbUrl":"https:\/\/beta.model-boats.com\/media\/176890949236\/s","isImage":false,"ext":"file"},{"id":"176891510826","name":"176891510826","caption":"","url":"https:\/\/beta.model-boats.com\/media\/176891510826\/l","thumbUrl":"https:\/\/beta.model-boats.com\/media\/176891510826\/s","isImage":false,"ext":"file"}]
I've bought the above kit to keep me busy during these dark dank winter months. Originally I had planned to build a 880mm (34.6") Bluebird of Chelsea plank on frame kit. It is a famous pleasure craft built for Sir Malcolm Campbell and took part in rescuing soldiers from the beaches of Dunkirk under 'Operation Dynamo' in 1940. Unfortunately much to my bitter disappointment only the larger 52" version now is available which is too big for myself.
I'm hoping some kit builder will make a kit of this craft at about 36" so in the meantime here goes with LISA M
The kit has an ABS hull (a bonus for my hands these days!) and laser cut plywood parts. The kit also comes with an electric motor so all you need is a servo and speed control plus the usual R/C gear and battery.
A set of English instructions were also provided which are a reasonable translation with the odd error here and there! I feel they could be a bit more specific in places so study the photos.
The ABS hull comes with about 1 1/4" (about 300mm) extra height above the deck level which needs cutting down to be about 2mm above the temporary fitted deck level. This wasn't that easy but in the end I used a pair of tin snips to cut it which proved to be better than using a Stanley Knife. I have drilled and filed the holes in the ABS hull for the prop shaft tube and rudder tube. I've now assembled the deck coaming, motor mount, battery box and supports for the rudder tube. Next job is to waterproof the deck on both sides, and all the other assembled plywood parts. Having seen another blog, I've decided to strengthen the wood around the rudder tube by using an offcut from the wood provided for the boat stand. I will smooth the edges when the glue has set!
Slow progress as I've been dragged into doing some decorating! Anyway the internal motor mount, battery box, and rudder post have had 3 coats of sanding sealer and 3 coats of blue spray paint. I've also on the advice of Chum, I've added some strengthening to the ABS hull using 1.5mm plastikcard and hard plastic glue which smells like contact glue!
[{"id":"177046144381","name":"177046144381","caption":"","url":"https:\/\/beta.model-boats.com\/media\/177046144381\/l","thumbUrl":"https:\/\/beta.model-boats.com\/media\/177046144381\/s","isImage":false,"ext":"file"}]
Slow progress as I've been dragged into doing some decorating! Anyway the internal motor mount, battery box, and rudder post have had 3 coats of sanding sealer and 3 coats of blue spray paint. I've also on the advice of Chum, I've added some strengthening to the ABS hull using 1.5mm plastikcard and hard plastic glue which smells like contact glue!
@StephenS3 Building a Bluebird if Chelsea is still something I would like to do but for a kit build that's no more than 36" long as I have very limited space. Also, I don't feel confident to do a scratch build. Real shame that the small version of the Chinese kit is no longer available! It looked superb.
@DuncanP .Thanks for reply.A pity no kit available for Bluebird.. at the suitable size..Bluebird has been sold and no longer at Chelsea.It used to go Dunkirk every year for t he reunion..It had engines from the 1960s rather old for serious trips but somehow ok
Got to building the superstructure and I have come across an unexpected problem! the main part of the superstructure appears to fit fine but the aft cockpit well will not fit inside the boat! On discovering this I pulled the cockpit well apart before the glue set completely!! Has anyone else experienced this potential problem with this Krick Lisa M build or is it my fault? I've attached relevant photos from the manual and also pictures of the boat and cockpit (with one side removed!) Any suggestions please?
[{"id":"177401923443","name":"177401923443","caption":"","url":"https:\/\/beta.model-boats.com\/media\/177401923443\/l","thumbUrl":"https:\/\/beta.model-boats.com\/media\/177401923443\/s","isImage":false,"ext":"file"},{"id":"177401927492","name":"177401927492","caption":"","url":"https:\/\/beta.model-boats.com\/media\/177401927492\/l","thumbUrl":"https:\/\/beta.model-boats.com\/media\/177401927492\/s","isImage":false,"ext":"file"},{"id":"177401950831","name":"177401950831","caption":"","url":"https:\/\/beta.model-boats.com\/media\/177401950831\/l","thumbUrl":"https:\/\/beta.model-boats.com\/media\/177401950831\/s","isImage":false,"ext":"file"},{"id":"177401955073","name":"177401955073","caption":"","url":"https:\/\/beta.model-boats.com\/media\/177401955073\/l","thumbUrl":"https:\/\/beta.model-boats.com\/media\/177401955073\/s","isImage":false,"ext":"file"},{"id":"177401956524","name":"177401956524","caption":"","url":"https:\/\/beta.model-boats.com\/media\/177401956524\/l","thumbUrl":"https:\/\/beta.model-boats.com\/media\/177401956524\/s","isImage":false,"ext":"file"},{"id":"177401958829","name":"177401958829","caption":"","url":"https:\/\/beta.model-boats.com\/media\/177401958829\/l","thumbUrl":"https:\/\/beta.model-boats.com\/media\/177401958829\/s","isImage":false,"ext":"file"}]
Got to building the superstructure and I have come across an unexpected problem! the main part of the superstructure appears to fit fine but the aft cockpit well will not fit inside the boat! On discovering this I pulled the cockpit well apart before the glue set completely!! Has anyone else experienced this potential problem with this Krick Lisa M build or is it my fault? I've attached relevant photos from the manual and also pictures of the boat and cockpit (with one side removed!) Any suggestions please?
When building from a kit (or a plan) it is not at all unusual to have to do a little "fettling" to make minor adjustments to make parts fit together correctly.
You would be welcome to pop over to my crowded workshop(shed) sometime if you would like me to take a quick look with you.
I have never built a Krick kit, but I expect the above comments would apply to it as much as they do with any other kit or plan build.
I've removed the tabs from one side to reduce the width of the cockpit well and then glued the cockpit well side back on. Hopefully there will be sufficient clearance for the paint layers! I had to also widen the slots in the main superstructer to accommodate the shorter width of the cockpit well. The photos show the dry test so next job is to glue them with some extra strengthening on the inside of the cabin and then fill the slot gap in the superstructer. Just a bit of a unexpected problem to overcome! Thanks for your suggestions and offer of help from Zooma.
[{"id":"177420973273","name":"177420973273","caption":"","url":"https:\/\/beta.model-boats.com\/media\/177420973273\/l","thumbUrl":"https:\/\/beta.model-boats.com\/media\/177420973273\/s","isImage":false,"ext":"file"},{"id":"177420973424","name":"177420973424","caption":"","url":"https:\/\/beta.model-boats.com\/media\/177420973424\/l","thumbUrl":"https:\/\/beta.model-boats.com\/media\/177420973424\/s","isImage":false,"ext":"file"}]
I've removed the tabs from one side to reduce the width of the cockpit well and then glued the cockpit well side back on. Hopefully there will be sufficient clearance for the paint layers! I had to also widen the slots in the main superstructer to accommodate the shorter width of the cockpit well. The photos show the dry test so next job is to glue them with some extra strengthening on the inside of the cabin and then fill the slot gap in the superstructer. Just a bit of a unexpected problem to overcome! Thanks for your suggestions and offer of help from Zooma.
I decided to change the order of the build from those in the manual. I therefore added the cockpit coaming strips before gluing the cockpit floor well to the main superstructure. This enabled me to have the cockpit well in the correct position within the hull before gluing with superglue the main cabin structure to this cockpit. After the glue had set I added strengthening pieces around the inside of the joints and these pieces also covered the larger than required gaps I had created in the main cabin to take the slimed down cockpit well. I then filled gaps in the build including around the window frames etc with Holts Knifing Putty. I sanded the cabin before putting the roof on as some areas otherwise would be difficult to reach! I used Titebond Ultimate to attach the roof in order to give me more time to get the roof aligned correctly as this gives a lot more time to adjust the positioning than using superglue! I think I will next apply a primer coat before building and adding the upper section of the 'fly deck'.
[{"id":"177479695632","name":"177479695632","caption":"","url":"https:\/\/beta.model-boats.com\/media\/177479695632\/l","thumbUrl":"https:\/\/beta.model-boats.com\/media\/177479695632\/s","isImage":false,"ext":"file"},{"id":"177479697715","name":"177479697715","caption":"","url":"https:\/\/beta.model-boats.com\/media\/177479697715\/l","thumbUrl":"https:\/\/beta.model-boats.com\/media\/177479697715\/s","isImage":false,"ext":"file"},{"id":"177479699253","name":"177479699253","caption":"","url":"https:\/\/beta.model-boats.com\/media\/177479699253\/l","thumbUrl":"https:\/\/beta.model-boats.com\/media\/177479699253\/s","isImage":false,"ext":"file"},{"id":"177479700355","name":"177479700355","caption":"","url":"https:\/\/beta.model-boats.com\/media\/177479700355\/l","thumbUrl":"https:\/\/beta.model-boats.com\/media\/177479700355\/s","isImage":false,"ext":"file"}]
I decided to change the order of the build from those in the manual. I therefore added the cockpit coaming strips before gluing the cockpit floor well to the main superstructure. This enabled me to have the cockpit well in the correct position within the hull before gluing with superglue the main cabin structure to this cockpit. After the glue had set I added strengthening pieces around the inside of the joints and these pieces also covered the larger than required gaps I had created in the main cabin to take the slimed down cockpit well. I then filled gaps in the build including around the window frames etc with Holts Knifing Putty. I sanded the cabin before putting the roof on as some areas otherwise would be difficult to reach! I used Titebond Ultimate to attach the roof in order to give me more time to get the roof aligned correctly as this gives a lot more time to adjust the positioning than using superglue! I think I will next apply a primer coat before building and adding the upper section of the 'fly deck'.
Filling, sanding and painting has taken quite a long time! After two coats of sanding sealer, two coats of primer / undercoat applied by brush I then sprayed two coats of white. So far I've applied one coat of blue to the hull below the water line. The small can of spray paint has now run out so I need to buy another tin of paint to give a second coat. I was disappointed that the kit didn't contain the blue flashes that appear down the rear side of the superstructure. I managed to resource from Amazon a pack of different coloured self adhesive plastic sheets for £4.49 which I thought was a great price. In the instructions it says use brass wire for the hand rails but they supplied two lengths of stainless sheets rod which is thinner (1mm rather than 1.5mm) which means you don't have to open the eyes of the split pins. I found I was short of the plastic for the final window in the door so I had to use some that was fortunately left over from a previous build. I used some plastikard to make the front skylight hatch and covered this with the black sticky backed plastic sheet. I used one of my wife's crafting beads to finish off the top of the ladder hand /support rail. I've still got to finish the decks with at least another coat of paint and put some of the fittings on. Fitting the bridge for the radar scanner is turning out to not be that easy so I'm having a break from it by creating this posting!🤣🤣
[{"id":"17807456519","name":"17807456519.jpg","caption":"","url":"https:\/\/beta.model-boats.com\/media\/17807456519\/l","thumbUrl":"https:\/\/beta.model-boats.com\/media\/17807456519\/s","isImage":true,"ext":"jpg"},{"id":"17807456634","name":"17807456634.jpg","caption":"","url":"https:\/\/beta.model-boats.com\/media\/17807456634\/l","thumbUrl":"https:\/\/beta.model-boats.com\/media\/17807456634\/s","isImage":true,"ext":"jpg"},{"id":"17807456775","name":"17807456775.jpg","caption":"","url":"https:\/\/beta.model-boats.com\/media\/17807456775\/l","thumbUrl":"https:\/\/beta.model-boats.com\/media\/17807456775\/s","isImage":true,"ext":"jpg"}]
Filling, sanding and painting has taken quite a long time! After two coats of sanding sealer, two coats of primer / undercoat applied by brush I then sprayed two coats of white. So far I've applied one coat of blue to the hull below the water line. The small can of spray paint has now run out so I need to buy another tin of paint to give a second coat. I was disappointed that the kit didn't contain the blue flashes that appear down the rear side of the superstructure. I managed to resource from Amazon a pack of different coloured self adhesive plastic sheets for £4.49 which I thought was a great price. In the instructions it says use brass wire for the hand rails but they supplied two lengths of stainless sheets rod which is thinner (1mm rather than 1.5mm) which means you don't have to open the eyes of the split pins. I found I was short of the plastic for the final window in the door so I had to use some that was fortunately left over from a previous build. I used some plastikard to make the front skylight hatch and covered this with the black sticky backed plastic sheet. I used one of my wife's crafting beads to finish off the top of the ladder hand /support rail. I've still got to finish the decks with at least another coat of paint and put some of the fittings on. Fitting the bridge for the radar scanner is turning out to not be that easy so I'm having a break from it by creating this posting!🤣🤣
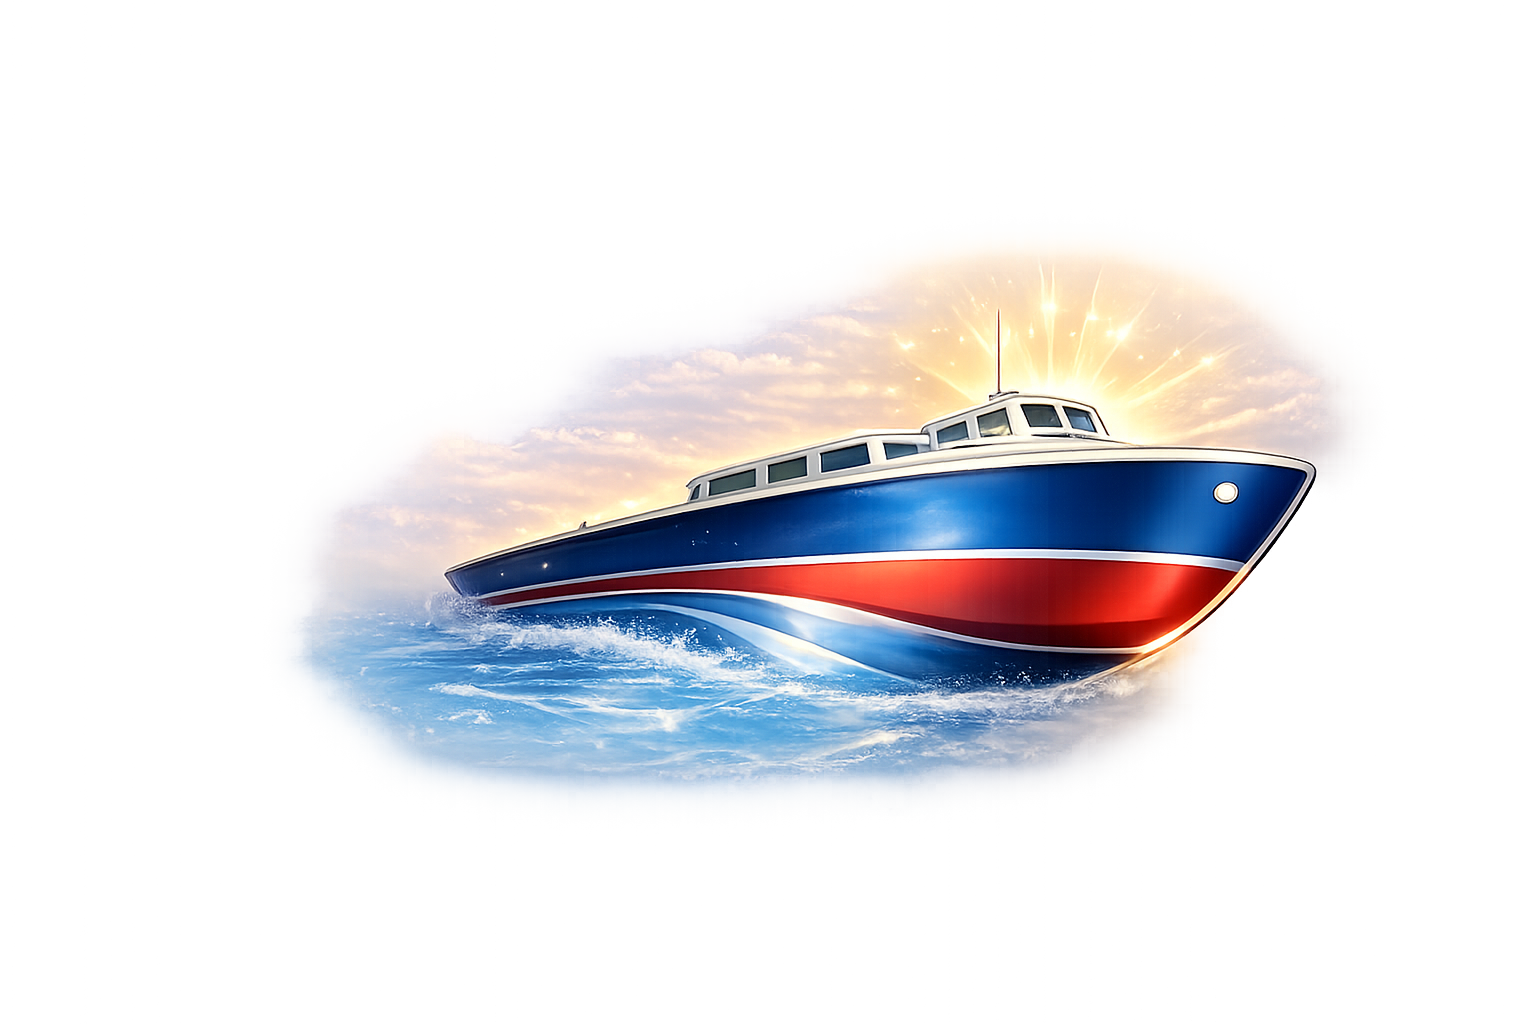
Painting finally completed. The bench seat was upholstered with doll house Ivory PVC contoured fabric. As yet cleats not fitted since I will need to work out how to drill wire supports into them so the won't easily get knocked off! I took the 2 attached photos and then asked Chatgpt to remove the background. It did a lot more to the photos of the boat. Can you spot the differences? Sorry no prizes! 🤣🤣 There are several but you will have to zoom in!
[{"id":"17837171057","name":"17837171057.jpg","caption":"","url":"https:\/\/beta.model-boats.com\/media\/17837171057\/l","thumbUrl":"https:\/\/beta.model-boats.com\/media\/17837171057\/s","isImage":true,"ext":"jpg"},{"id":"17837171181","name":"17837171181.jpg","caption":"","url":"https:\/\/beta.model-boats.com\/media\/17837171181\/l","thumbUrl":"https:\/\/beta.model-boats.com\/media\/17837171181\/s","isImage":true,"ext":"jpg"},{"id":"17837171284","name":"17837171284.png","caption":"","url":"https:\/\/beta.model-boats.com\/media\/17837171284\/l","thumbUrl":"https:\/\/beta.model-boats.com\/media\/17837171284\/s","isImage":true,"ext":"png"}]
Painting finally completed. The bench seat was upholstered with doll house Ivory PVC contoured fabric. As yet cleats not fitted since I will need to work out how to drill wire supports into them so the won't easily get knocked off! I took the 2 attached photos and then asked Chatgpt to remove the background. It did a lot more to the photos of the boat. Can you spot the differences? Sorry no prizes! 🤣🤣 There are several but you will have to zoom in!
@DuncanP :Nice looking boat. As for the Chatgpt thing. I would climb the ladders in photo 2 to get to the top deck but might bang my head if I tried it in with photo 4. The life belt has moved position and the number of ladder rungs has changed plus the ships wheel is missing along with the controls and I think the top deck seating has changed shape a little. Top deck forward hand rail in photo 4 has acquired two supports and the radar has been rotated through 180 degrees. Maybe this could start a new competition. "Spot the difference"
Here is a video of the maiden voyage of my Krick Sports Cruiser at Bury Lido (Nr. Manchester) on a beautiful hot Sunday. I was very pleased with how she performed but later when the wind got up the steering wasn't quite as effective probably because of the high topsides! The motor was the one supplied in the kit - perfect scale speed I think!

👍👍